

Dry Fire Drills to Improve Your Grip
Jun 26th 2026
Build Better Shooting Fundamentals at Home
Whether you're a competitive shooter, a concealed carrier, or recreational firearms enthusiast, one skill has a greater impact on your accuracy than almost any other: your grip. A proper handgun grip helps manage recoil, improves consistency, and allows for faster follow-up shots.
Fortunately, you don't need to spend hours at the range to improve. Dry fire training is one of the most effective ways to develop a stronger, more consistent grip from the comfort of your home. When paired with a quality aftermarket grip from ECM Precision, dry fire drills can dramatically improve your firearm control and shooting performance.
In this guide, our team of experts is going to cover the best dry fire drills to strengthen your grip, reinforce proper technique, and build confidence every time you pick up your pistol.
Why Grip Matters
Every accurate shot begins with a consistent grip. If your hands shift between shots or your grip pressure changes during the trigger press, your point of impact can move—even with perfect sights.
A proper grip helps:
- Reduce muzzle flip
- Improve recoil management
- Increase shot-to-shot consistency
- Speed up follow-up shots
- Prevent unnecessary hand fatigue
- Build confidence under stress
Developing these habits through dry fire creates muscle memory that carries over to live-fire training.
Safety First
Before beginning any dry fire practice:
- Remove all live ammunition from the room.
- Verify your firearm is unloaded.
- Double-check both the chamber and magazine well.
- Choose a safe direction for training.
- Consider using snap caps if recommended for your firearm.
Following proper safety procedures allows you to focus entirely on improving your technique.
Drill 1: Grip Presentation
Purpose: Build a consistent firing grip from the draw or ready position.
One of the biggest mistakes shooters make is establishing their grip after the pistol is already in front of them. Instead, your grip should be complete before the firearm leaves the holster.
How to Perform
- Start from your normal carry position or low ready.
- Draw or present the pistol.
- Build your firing grip immediately.
- Extend to your shooting position.
- Verify your sights are naturally aligned.
Repeat 25-50 times while focusing on consistency rather than speed.
Drill 2: Trigger Press Without Sight Movement
Purpose: Improve grip stability during trigger control.
A stable grip keeps the sights from moving when pressing the trigger.
How to Perform
- Aim at a small target on the wall.
- Apply your normal grip pressure.
- Slowly press the trigger.
- Watch the front sight.
If the sight moves, evaluate whether your grip is changing during the trigger press.
Repeat for 20-30 trigger presses.
Drill 3: Grip Pressure Drill
Purpose: Find the optimal grip pressure.
Many shooters either squeeze too hard or not hard enough.
Experiment with three different grip pressures:
- 50%
- 75%
- 100%
Most experienced shooters find that approximately 70-80% pressure from the support hand and moderate pressure from the firing hand provides excellent recoil control while allowing a smooth trigger press.
The goal is consistent pressure—not maximum force.
Drill 4: One-Hand Grip Practice
Purpose: Strengthen both hands individually.
Sometimes defensive situations require shooting with only one hand.
Practice:
- Strong hand only
- Support hand only
Focus on:
- Firm wrist lock
- Consistent sight picture
- Minimal sight movement during trigger press
This drill also exposes weaknesses in grip strength that two-handed shooting may hide.
Drill 5: Wall Drill
The Wall Drill is one of the simplest yet most effective dry fire exercises.
Stand close enough to a wall that your sights cannot focus on a distant target.
Now:
- Present the pistol.
- Focus entirely on the front sight.
- Press the trigger slowly.
- Ensure the sights remain perfectly still.
Without the distraction of aiming at a target, you'll notice even the smallest movement caused by poor grip or trigger control.
Drill 6: Target Transition Drill
Purpose: Build grip consistency during movement.
Place two or three dry fire targets on a wall.
Present the pistol and transition between targets while maintaining:
- Consistent grip pressure
- Stable wrist position
- Proper support-hand placement
Avoid relaxing your grip while moving between targets.
Drill 7: Follow-Through Drill
Many shooters relax their grip immediately after pressing the trigger.
Instead:
- Press the trigger.
- Hold the trigger to the rear.
- Maintain full grip pressure.
- Keep the sights aligned.
- Slowly reset the trigger.
This teaches proper follow-through and reinforces consistency after every shot.
Drill 8: Draw to First Shot
If you carry concealed, this drill is invaluable.
Practice:
- Clearing your cover garment
- Building your firing grip
- Drawing smoothly
- Presenting the pistol
- Pressing the trigger
Don't rush.
Perfect repetitions are more valuable than fast, sloppy ones.
Drill 9: Grip Endurance
Shooting long training sessions can fatigue your hands.
Build endurance by:
- Holding your firing grip for 30-60 seconds
- Relaxing for 15 seconds
- Repeating five to ten times
This strengthens the muscles responsible for maintaining consistent control during extended range sessions.
Drill 10: Recoil Visualization
Although dry fire doesn't produce recoil, you can still train for it. This is a great training method for your everyday carry (EDC).
After each trigger press:
- Imagine the pistol cycling.
- Maintain your grip.
- Return the sights naturally to the target.
This mental rehearsal helps develop faster follow-up shots during live fire.
Common Grip Mistakes
As you practice, watch for these common errors:
Over-Gripping
Trying to crush the pistol often creates unnecessary muscle tension that interferes with trigger control.
Weak Support Hand
Your support hand should provide most of the gripping force.
Floating Thumb
Allowing the support-hand thumb to lose contact reduces consistency.
Inconsistent Hand Placement
Even slight differences in hand position can change recoil behavior and accuracy.
Relaxing After the Shot
Maintain your grip until you've completed your follow-through.
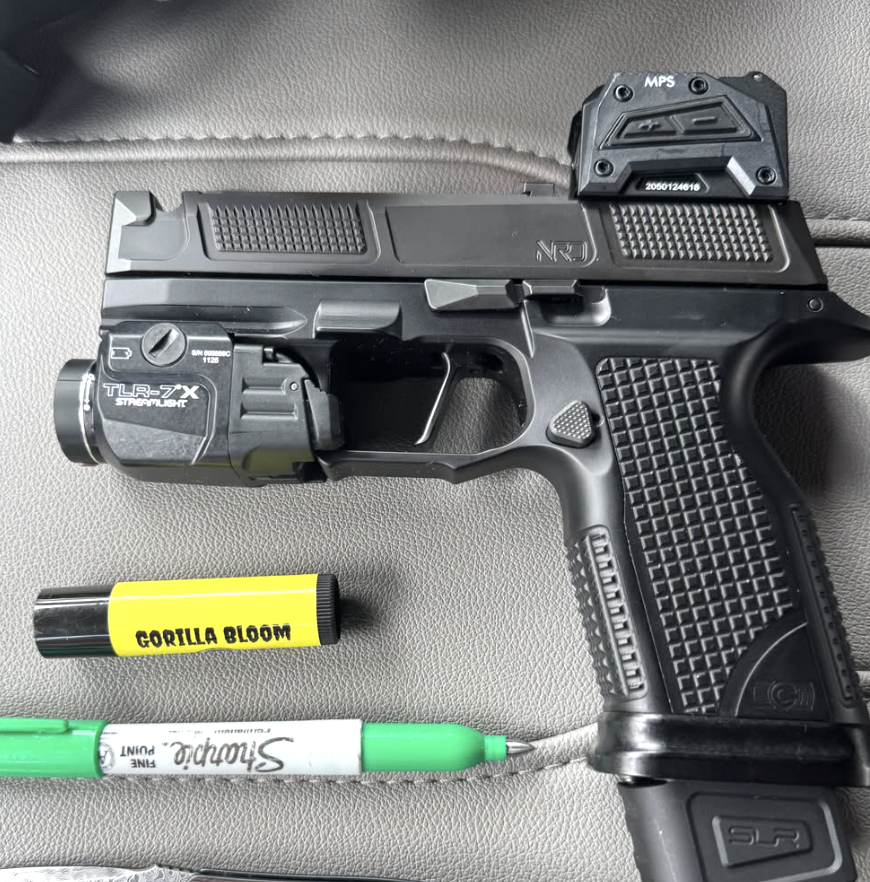
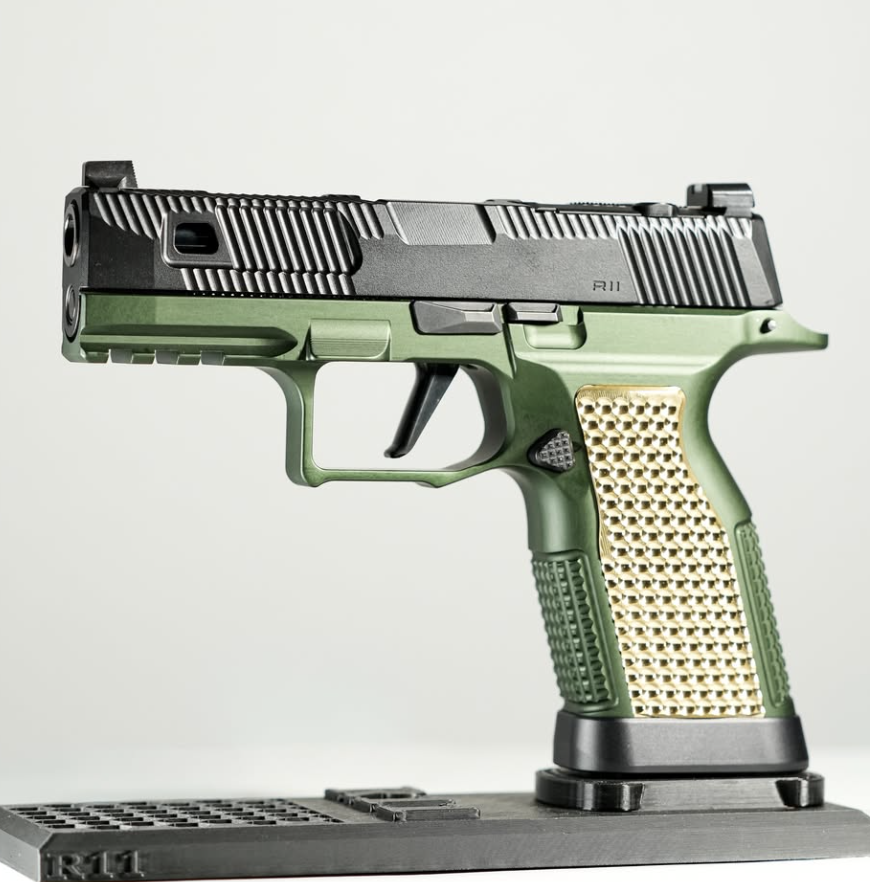
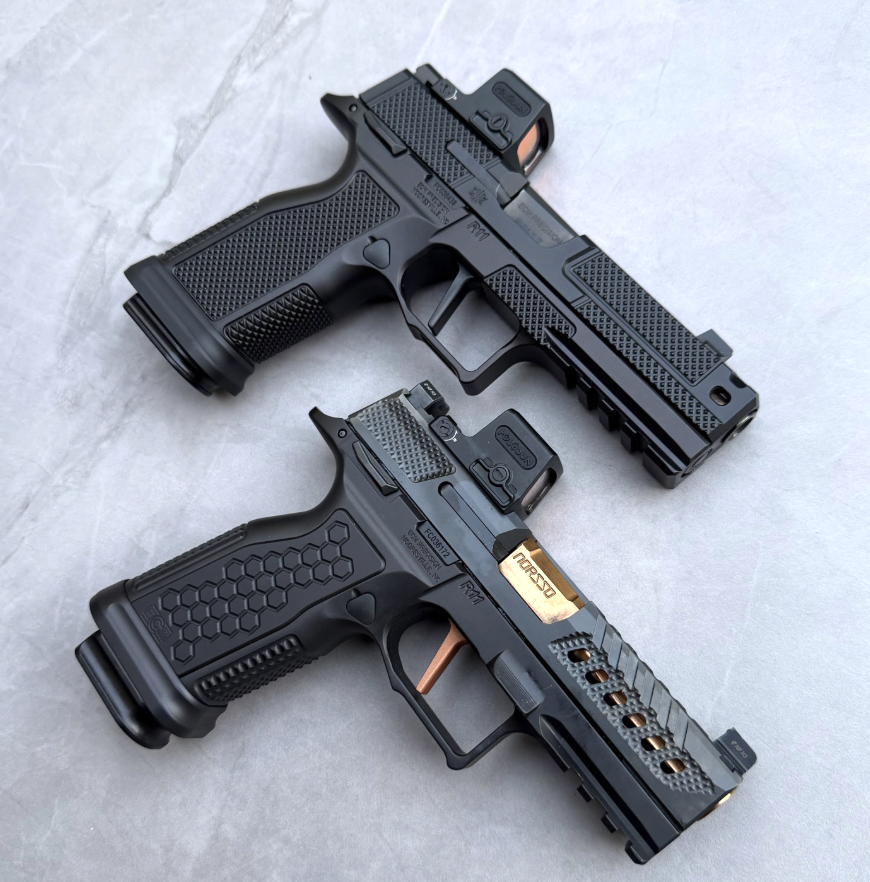
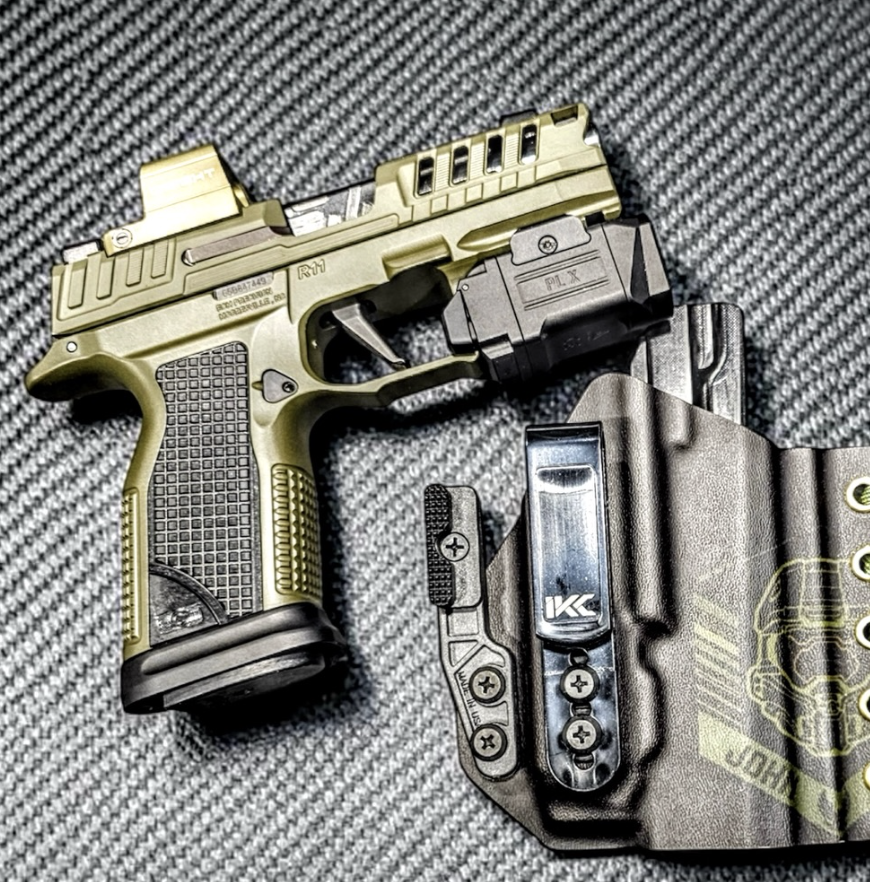
How Quality Grips Improve Dry Fire Training
Even the best drills can't overcome poor ergonomics.
A precision-machined aftermarket grip provides:
- Improved texture for consistent hand placement
- Better traction in wet or sweaty conditions
- Enhanced control during rapid strings of fire
- Greater confidence during defensive or competitive shooting
Because dry fire involves hundreds or even thousands of repetitions, it's the perfect time to evaluate whether your current grip truly fits your hands.
Build Better Habits with Every Repetition
Dry fire training is one of the fastest, safest, and most affordable ways to improve your handgun skills. Just 10 to 15 minutes of focused practice several times per week can significantly improve grip consistency, trigger control, and overall shooting performance.
Pairing effective dry fire drills with a high-quality grip from ECM Precision allows you to maximize every repetition. Whether you're preparing for competition, concealed carry, or your next range session, developing a stronger grip translates into faster, more accurate, and more confident shooting.
Master your grip at home, and you'll see the difference every time you step onto the firing line.
Be sure to follow ECM Precision on Instagram!