

How to Draw From the Holster
Feb 11th 2026
A Complete Guide to Speed, Safety, and Control
Drawing from the holster is one of the most important skills any responsibly armed citizen can develop. Whether you carry concealed every day or train regularly at the range, your draw stroke is the bridge between decision and action, life or death. A fast draw is impressive—but a safe, consistent, and efficient draw is what truly matters.
In this guide, our team at ECM Precision is going to break down how to draw from the holster step by step, cover common mistakes, and explain why good grips are essential for both performance and safety.
Why Drawing From the Holster Matters

In a defensive situation, seconds count. Whether you are open carrying or carrying concealed, the ability to smoothly and safely present your firearm can determine whether you effectively stop a threat or fumble under pressure.
But drawing from the holster isn’t just about speed. It’s about:
- Safety and trigger discipline
- Consistency under stress
- Retention and control
- Accuracy on first shot
- Minimizing unnecessary movement
If your draw stroke is inefficient, sloppy, or inconsistent, it will fall apart when adrenaline spikes.
That’s why structured training and quality equipment—especially your holster and grips—are critical.
The Four-Step Draw Stroke
While techniques may vary slightly depending on training background, most modern defensive pistol instruction follows a similar four-step process.
1. Establish a Master Grip
Before the gun ever leaves the holster, you must establish a full firing grip.
This means:
- Web of your hand high on the backstrap
- Strong, consistent grip pressure
- Trigger finger straight along the frame
- No need to readjust after clearing the holster
This step is often rushed—and it’s one of the biggest mistakes shooters make.
If you don’t get a solid grip immediately, you’ll waste time adjusting the gun during presentation. Worse, you may compromise recoil control or accuracy on your first shot.
This is where good grips are essential.
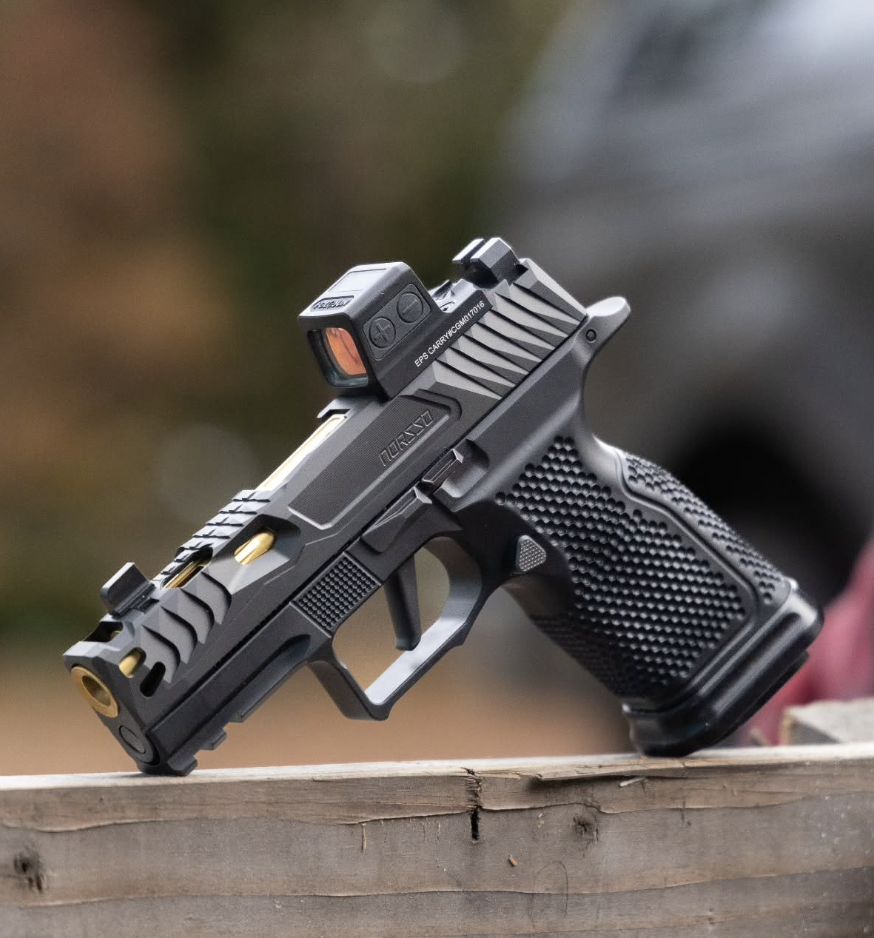
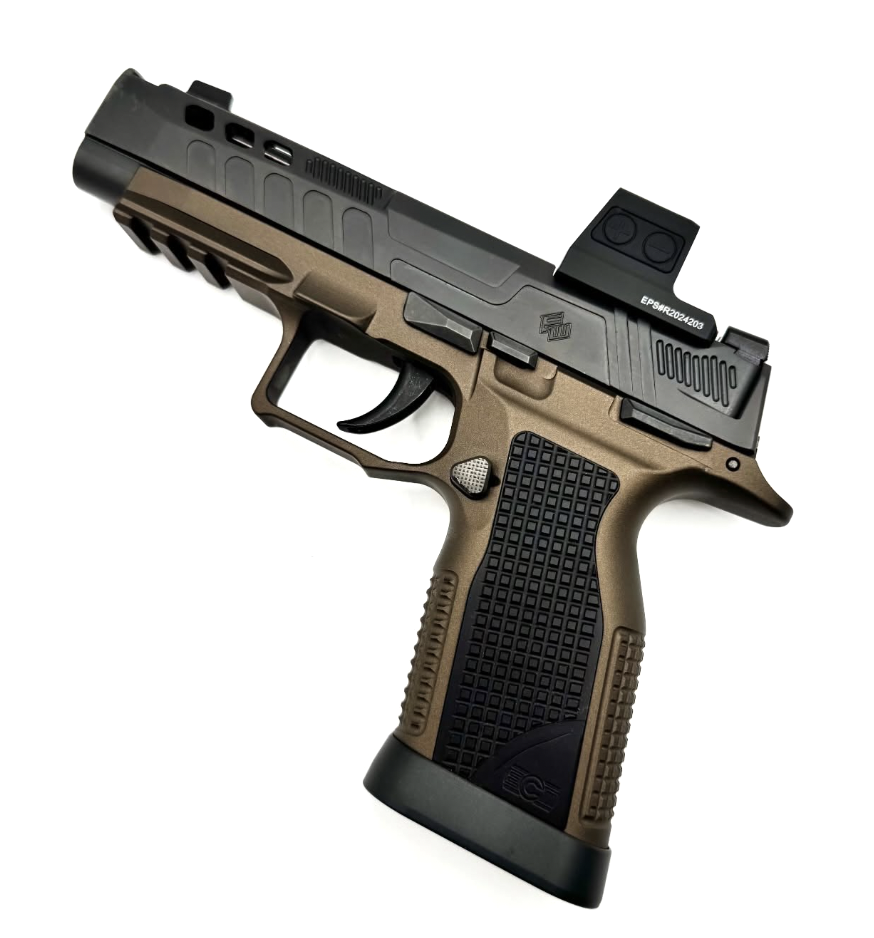
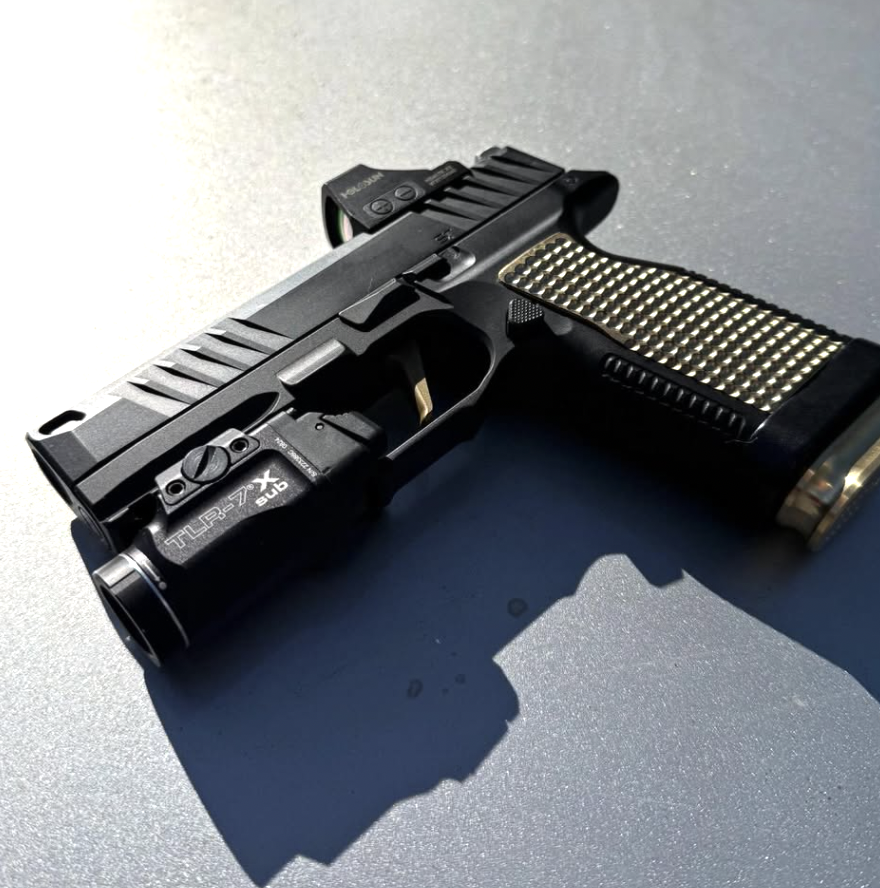
Why Good Grips Are Essential
Your pistol grips directly affect your ability to:
- Secure the firearm during the draw
- Maintain control under recoil
- Prevent slippage from sweat or rain
- Establish consistent hand placement
High-quality textured grips—whether aggressive polymer, stippled frames, or well-designed grip modules—provide tactile feedback. That feedback allows you to lock in your grip without looking.
Smooth or poorly designed grips can shift during the draw, especially when drawing from concealment under clothing.
For concealed carriers, grip texture is a balancing act. You want enough traction for control without excessive abrasion against clothing or skin. But make no mistake—traction equals control, and control equals accuracy and safety.
If your gun shifts in your hand during presentation, your draw stroke will never be consistent.
2. Clear the Holster
Once you have your master grip, draw the pistol straight up until it clears the holster.
Avoid:
- Bowling or arcing the gun outward
- Tilting the muzzle unnecessarily
- Sweeping yourself or others
The muzzle should remain vertical as it clears the holster.
For inside-the-waistband (IWB) carry, ensure your cover garment is fully cleared before drawing. For outside-the-waistband (OWB), retention systems must be disengaged cleanly and consistently.
Holster retention should be firm enough to secure the firearm—but not so tight that it disrupts your draw stroke.
3. Rotate and Join Hands
After clearing the holster, rotate the muzzle toward the target while keeping the firearm close to your body.
At this point:
- Your support hand meets the pistol at your centerline
- Both hands form a solid two-handed grip
- The firearm begins extending toward full presentation
This is where grip strength and texture matter again.
If your grips are inadequate or slippery, your support hand may not lock in consistently. That inconsistency translates directly into missed shots.
A strong, textured grip surface allows both hands to clamp down with confidence, creating a stable shooting platform.
4. Press Out and Acquire Sights
Extend the pistol toward the target while bringing your eyes to the sights—not the other way around.
As you reach full extension:
- Sight picture should already be forming
- Trigger finger moves to the trigger only when ready to fire
- Press the trigger smoothly to the rear
The entire motion should be fluid and deliberate.
Speed comes from efficiency—not rushing.
Drawing From Concealment vs. Open Carry
Drawing from concealment adds complexity, whether you carry a Glock or a Sig or any other brand of firearm. You must:
- Clear your garment consistently
- Avoid entanglement
- Prevent printing or exposure
Common concealment draw techniques include:
- Strong-hand garment sweep
- Support-hand garment lift
- Hybrid two-hand clear
Regardless of technique, the same principle applies: get a proper grip before the gun leaves the holster.
Many negligent discharges occur during rushed reholstering or poor garment management. Slow down when reholstering—there is no prize for speed going back into the holster.
The Importance of Holster Quality
A proper holster should:
- Completely cover the trigger guard
- Retain the firearm securely
- Allow consistent draw angle
- Stay open for safe reholstering
- Be mounted to a sturdy belt
Your belt matters too. A weak belt causes shifting, which ruins consistency. When your holster shifts position, your grip changes. When your grip changes, your draw stroke changes.
Consistency equals survivability.
Common Mistakes When Drawing From the Holster
Even experienced shooters can fall into bad habits. Watch for these:
Fishing for a Grip
If you are adjusting your hand after the gun clears leather, your initial grip was wrong.
Trigger Finger Too Early
Your finger should remain straight and indexed along the frame until you are on target and ready to fire.
Sweeping the Support Hand
During two-handed draws, ensure your support hand stays clear of the muzzle.
Racing the Reholster
Most accidental discharges happen when putting the gun away—not drawing it.
Take your time. Look the gun into the holster. Ensure clothing is clear.
Training to Improve Your Draw
Improving your draw stroke requires structured practice.
Dry Fire Practice
Dry fire is one of the safest and most effective ways to refine mechanics.
Focus on:
- Perfect grip acquisition
- Smooth presentation
- Sight alignment
- Trigger press
Start slow. Speed comes naturally as efficiency improves.
Live Fire Drills
At the range, work on:
- One-shot draw drills
- Bill drills (draw and fire multiple rounds)
- Failure-to-stop drills
- Timed first-shot drills
Use a shot timer if possible. Measurable performance creates real improvement.
Grip Strength and Physical Conditioning
Beyond grip texture, your physical grip strength matters.
Strong hands help:
- Control recoil
- Prevent slippage
- Improve follow-up shots
- Maintain consistency under stress
Incorporate grip strength tools, heavy carries, and forearm training into your routine. Just like fitness training, firearms proficiency benefits from physical preparation.
Mindset and Safety
Drawing from the holster is a defensive skill. It requires responsibility, awareness, and disciplined decision-making.
Always:
- Know your target and what’s beyond it
- Follow the four rules of firearm safety
- Train regularly
- Avoid complacency
- Competence builds confidence—but only when rooted in safety.
Final Thoughts: Master the Grip, Master the Draw
If there’s one takeaway from this guide, it’s this:
Your draw starts with your grip.
Without a proper master grip, everything else falls apart—speed, accuracy, recoil control, and safety.
Invest in:
- Quality textured grips or grip modules
- A secure, well-designed holster
- A sturdy belt
- Consistent training
Drawing from the holster isn’t about looking fast on social media. It’s about building a repeatable, safe, and efficient skill that holds up under stress.
Train smart. Train safe. And always start with the grip.
Be sure to follow ECM Precision on Instagram!